
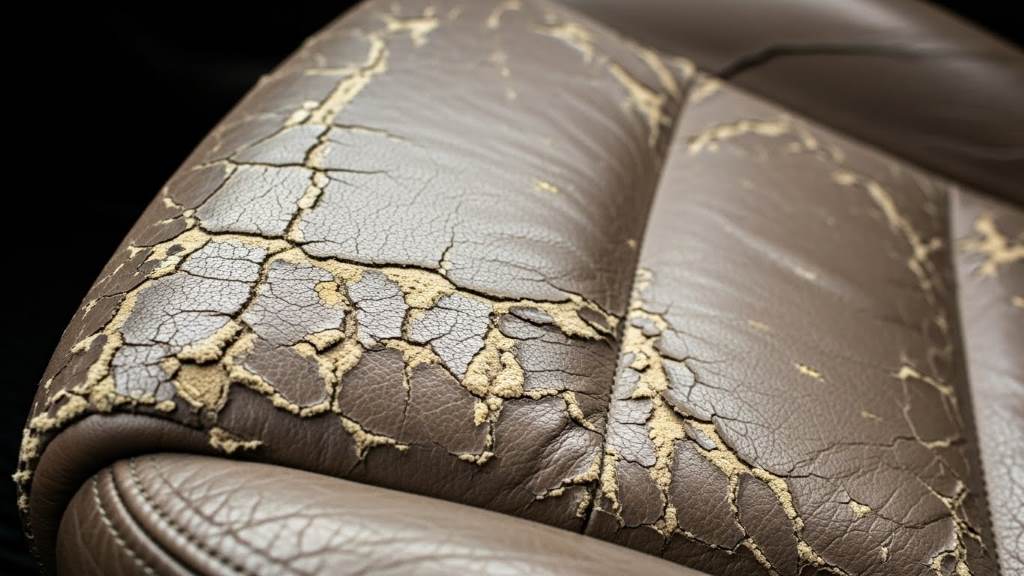
Cracked leather car seats sap the luxury from your ride and signal neglect. You stare at those unsightly splits every drive, wondering if professional reupholstery costs thousands. Stop there. Restore them yourself with basic tools and patience. This guide walks you through proven steps to mend cracks, prevent worsening damage, and revive your seats like new. Professionals endorse these methods for DIY enthusiasts ready to tackle the job.
Why Leather Car Seats Crack
Leather cracks from daily abuse. Sunlight bakes the surface, drying it out over time. Heat cycles expand and contract the material, creating stress lines. Body oils, spills, and friction accelerate the breakdown.
Industry experts note that untreated leather loses flexibility after five to ten years in harsh climates. Moisture trapped under seats breeds mold, weakening fibers further. Neglect turns minor fissures into gaping tears. Act early to halt progression.
Assess the Damage First
Examine your seats closely before repairs. Park in natural light and run your fingers over the leather. Distinguish surface cracks from deep splits piercing the backing.
- Superficial cracks: Thin lines under 1/8 inch deep, no padding exposure.
- Moderate damage: Wider fissures with slight foam visibility.
- Severe tears: Holes exposing stuffing or structural failure.
Take photos from multiple angles. Note color fading or stiff patches. This assessment guides your repair kit choices. According to widely accepted industry standards, skip repairs on seats over 50% damaged; replace them instead.
Gather Essential Supplies
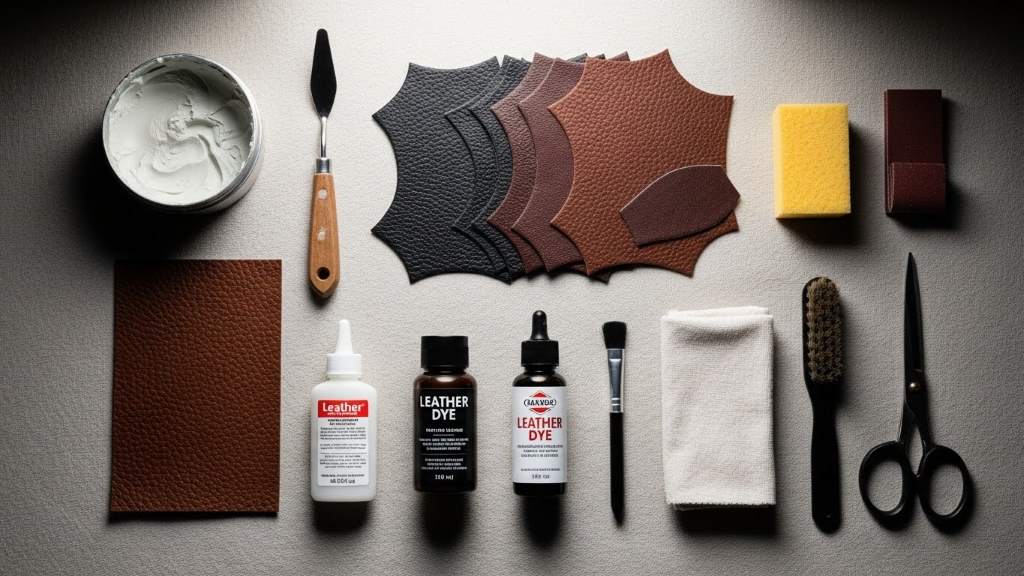
Stock up on quality materials for lasting results. Professionals recommend these staples for home fixes.
Core repair kit:
- Leather filler or putty (color matched to your seats)
- Leather conditioner and cleaner
- Fine grit sandpaper (400-600 grit)
- Palette knife or plastic scraper
- Rubbing alcohol
- Microfiber cloths
- Leather dye (for color blending)
- Heat gun or hairdryer (low setting)
Optional tools for pros:
- Seam ripper for patching
- Heavy duty needle and thread
- Vinyl adhesive for backing reinforcement
Buy small test quantities first. Match shades exactly against seat samples. Expect to spend under $100 for a full kit.
Prepare the Repair Area
Set up a clean workspace to avoid contamination. Remove seats if possible for easier access; most bolt out with basic sockets. Otherwise, vacuum thoroughly and wipe with alcohol dampened cloths.
Work in a dust free garage with good ventilation. Mask off surrounding areas with painter’s tape. Let seats air dry completely. Based on manufacturer guidelines, dry leather accepts fillers best at room temperature.
Step-by-Step Repair Process
Follow these numbered steps precisely. Patience yields professional results.
Step 1: Clean Thoroughly
Dirt sabotages adhesion. Spray leather cleaner on cracks and wipe gently. Avoid soaking. Rinse with damp cloth and dry fully. Repeat twice for grease buildup.
Step 2: Sand the Cracked Area
Lightly sand edges to create a smooth base. Use circular motions with 400 grit paper. Feather surrounding leather for seamless blending. Wipe away dust with alcohol. Pros advise minimal sanding preserves texture.
Step 3: Apply Leather Filler
Scoop filler onto palette knife. Press into cracks firmly, overfilling slightly. Smooth with knife for level surface. For deep splits, layer in thin coats, drying 30 minutes between. Heat gun warms filler for better flow.
Step 4: Shape and Dry
Build up filler to match contours. Sculpt seat curves naturally. Let cure 24 hours undisturbed. Sand smooth with 600 grit once hard.
Step 5: Blend and Color Match
Apply leather dye with sponge in thin layers. Feather edges outward. Buff lightly after drying. Multiple coats mimic factory finish.
Step 6: Condition and Protect
Rub conditioner into entire seat. This restores oils and prevents future cracks. Wipe excess. Reinstall seats and test comfort.
Repeat for all affected areas. Total time per seat: 4-6 hours plus drying.
Advanced Techniques for Tough Cracks
Superficial fixes work for minor issues. Deeper damage demands patches. Cut leather scrap slightly larger than the tear. Slip under edges with adhesive. Stitch or glue securely. Trim excess after drying.
For color faded seats, use vinyl paint pens for precision touchups. Blend with conditioner. Industry experts favor heat activated adhesives for seat flex durability.
Reinforce high wear zones like bolsters with clear vinyl overlays. Trim to fit and adhere invisibly.
Prevent Future Cracking
Maintenance extends repairs. Condition seats quarterly. Park in shade or use UV blockers. Wipe spills immediately. Vacuum crumbs weekly.
Install seat covers for protection. Rotate usage across vehicles if possible. According to professionals, consistent care doubles leather lifespan.
Common Mistakes to Avoid
Rookies rush drying times, causing filler cracks. Over sand and destroy texture. Skip cleaning leads to peeling. Match colors poorly for visible patches. Test everything on hidden spots first.
Related:
How to Drain Coolant from Engine Block
Outlander Campervan Rental Reviews: Comfort, Cost & Road Trip Experience
FAQs
Can I fix vinyl seats the same way?
Vinyl mimics leather but needs vinyl specific fillers. Follow similar steps with heat resistant products. Results last longer on flat surfaces.
How long do home repairs last?
Quality work endures 2-5 years with maintenance. Drive habits influence longevity. Pros see best outcomes on early interventions.
What if cracks expose seat foam?
Patch immediately to prevent foam degradation. Use foam safe adhesives. Severe cases require upholstery pros.
Does heat ruin leather repairs?
Excessive dryer heat warps filler. Stick to low settings. Natural air drying works best.
Are DIY kits as good as pro services?
Home kits suffice for 80% of cracks. Save hundreds versus shop rates. Complex jobs benefit from experts.
Ready to revive your seats? Grab supplies and start today. Share your before and after photos in comments. Your car deserves this upgrade.
References:
- Leather repair techniques from automotive restoration experts: https://www.familyhandyman.com/project/how-to-repair-leather-car-seats/
- DIY guide to fixing cracked seats: https://www.wikihow.com/Repair-Leather-Car-Seats
- Professional tips on leather care: https://www.autogeek.net/leather-seat-repair.html
